What is Content Block SDK?
If you use Marketing Cloud to build and send your emails, you are probably familiar with the WYSIWYG widgets you use to create and edit content blocks in Content Builder. But what if you need to customize your content block editor?
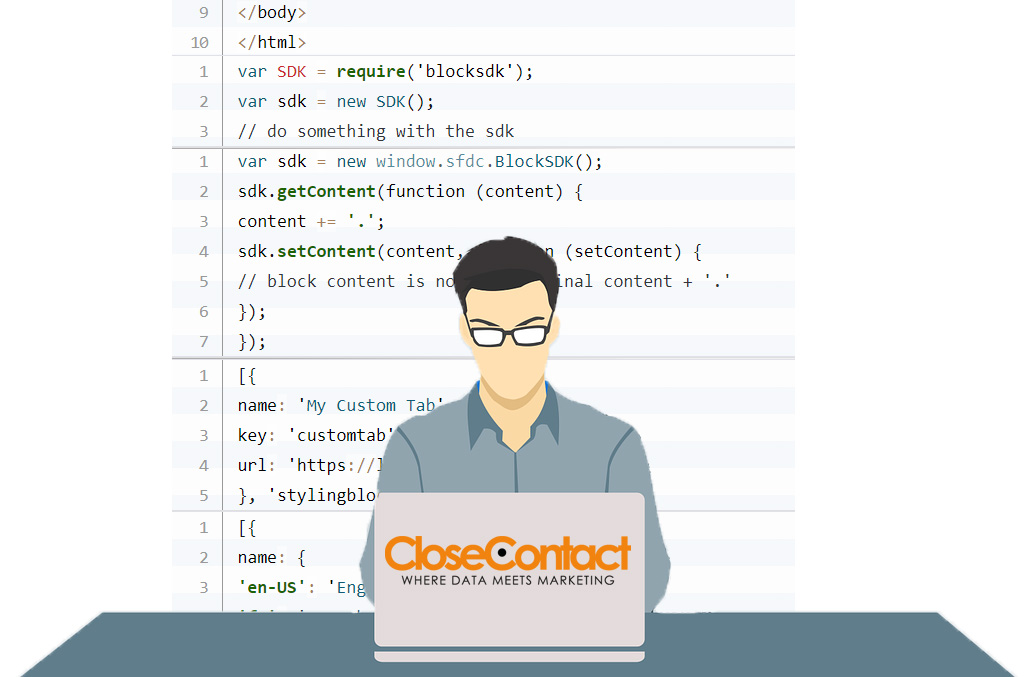
With the Content Block SDK (Software Development Kit) it’s possible to build your own block widget, or block editor interface as an HTML page, which you then install in Marketing Cloud as a Managed Package. This way, your custom block integrates seamlessly with Content Builder, where it updates in real-time while a user edits it.
Why use a custom block editor?
There are multiple use cases for Custom Blocks. For example: your organisation has strict rules around your corporate style and uses specific colours, fonts and approved images for all communication. With a custom interface you can control which elements users can edit, ensuring every email complies with corporate rules.
Or, your organization uses protected content that needs authorization. With Content Block SDK, you can build a custom block that authenticates content managed by your application or platform using your API. Other use cases include being able to use interactive content in your emails that is customized for your organization, such as maps, videos, surveys and timers.
How to build a customized block editor
To install and use the Content Block SDK, you need a developer or a partner (like CloseContact) who can take care of the building, testing and deploying of your Custom Block Editor for you.
You can download the SDK from Github, where you will also find the installation and usage instructions. You build your Custom Content Editor as an HTML page that interacts with content blocks in the Content Builder editor.
Tip: To make sure your custom block fits the Salesforce look and feel, install the Lightning Design System in your code editor. This includes your CSS framework, icons, font, and design tokens.
You can build and host your custom block editor anywhere. Once you’re ready, create an application that serves up the custom block HTML page and arrange for a hosting provider to host the app, this can be on your own server, or with a third party like Heroku.
We also recommend you test it (regardless of where it is hosted) in the Heroku Blocktester.
Deploying your custom block editor in Content Builder
To be able to use your Custom Block Editor in Content Builder, you need to add it to Marketing Cloud as an installed package. For this, you need access to Marketing Cloud, with Administrator rights. You can configure your installed package in Salesforce Marketing Cloud under setup following these steps:
1. Under setup, type Installed packages in the search field
2. Go to Installed Packages and click ‘New’
3. Enter name and description for the package
4. Save and click ’Next’
5. Click Add Component
6. Select Custom Content Block
7. Type a name and description for the content block
8. Enter the Endpoint URL, Content Builder loads all assets relative to this endpoint
9. Click ‘save’ to complete
Grant access to the custom content block to your users
Only licensed users will be able to access the custom block you just added to Content Builder. To give your users access, navigate to your installed package and click Licenses. Select specific users or all of your Marketing Cloud users. They may need to refresh Content Builder to see the new block.
More information
Try the Content Builder SDK Trailhead module or contact us via our contact form.